 You know that unit in your curriculum that should be so amazing and interesting and chock full of culture, but ends up being kind of surface and overwhelming? Well, for me, that’s the travel unit at the end of Level 2. They have to revisit how to pack for a trip, and read weather forecasts, and learn to make reservations, navigate an airport for international travel, travel by bus and train, tour around a foreign place, look at stuff, do stuff, eat stuff, possibly get hurt, lost, or sick, make it back to the original airport on time, AND THEN come home and tell someone else what HAPPENED on their trip!! Are you exhausted? I certainly am every time I teach all that. Not only does it have a ton of content, it basically begs for days of explicit grammar instruction to get the HAPPENED part (fight that temptation, my friends, my next post will talk about what I figured out on that topic…). That being said, I wanted to show you how I reworked my travel unit this semester, since I was amazed at what my kids produced, and give you the slides if you wanted to try it with your own! Let’s take a trip!
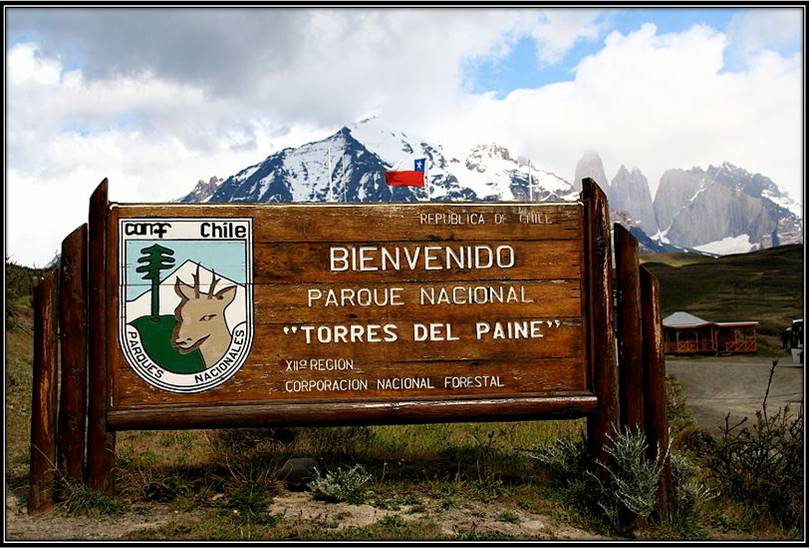
So as a bit of background, this project came about as I was working to figure out how to teach communication through culture, and to make the travel unit relevant and connected to my kids in some way. Not many of them will travel abroad, so I wanted to find a way to show them as many people and places as possible within the time constraints of 1 unit. I chose to take us on someone else’s journey and make a cinematic and political connection. I decided that Ernesto Guevara’s Motorcycle Diaries journey would be a fun way to explore South America, and make some cultural connections. Within that process, we learned the vocabulary and language functions based on the geography, weather, clothing, and activities that are actually necessary to travel in each country. We were able to compare then and now, and naturally integrate the movement between preterit and present tense as required by our local curriculum at this level. As we moved from Argentina to Chile to Peru and finally to Venezuela, we reinforced the content by investigating the geography, weather, and special features of each new place. As you can see, in this moment, Chile was our travel location.
The way I set it up was that the students had gone to Chile over the summer and had just gotten back their photo books from Smilebox. To everyone’s horror, none of their information had been saved on pictures, except for the first and last lines. All of the actual information about Chile was completely erased. They were then required to investigate each picture, knowing that it was taken somewhere in Chile, and then “rewrite” and narrate their travel journals. Their narrative had to include the specific place they visited, what they did in each place, and one additional detail. The detail could be clothing required, weather in the place, food they ate, or any other type of information they wanted to include.
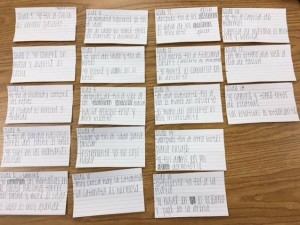
 This was a pretty daunting project for some of my level 2 students, not just because it was requiring them to work for the information about the images, but also because it was going to require a significant amount of writing and speaking. I posted the PowerPoint with the slides to my class website so they could download and work with it. For the students who didn’t have technology at home, I printed the slides in handouts, and told them to number them in the order they wanted, and I would rearrange the presentation for them. I also gave them the choice of recording their narrations directly onto the PowerPoint, recording separately, or presenting their slides live in front of the class.
I broke up the project into pieces so they wouldn’t completely freak out. First, they had to show me their research, which was the information they gathered about the specific places. Then they had to write their sentences about each slide. I gave them sentence starters, reviewed the structures we had learned in the unit, and showed them the minimal amount of language they could use to meet the requirement. That amount of scaffolding kept almost every student away from Google Translate. I told them they were free to personalize their presentation by looking up additional words with Word Reference that we had not learned, but they were not allowed to run whole sentences through any translator.
They were able to work in pairs to help each other with the research and I required them to have their partner check their rough draft sentences before they turned them in to me. I find it’s good for students to peer-edit because they can correct the majority of their issues in a low-stress situation. Turning in work to me for editing is often much more stressful! After their rough drafts were peer-edited and corrected by me, they were left to finalize their script, practice, and record. On presentation day, the students were to have already shared their presentations with me via Google Drive or were to have their cards ready to speak from. We played the presentations of the students who pre-recorded, and watched the presentations from the students who opted to present in class. After that, I assessed their Presentational Speaking and Writing on a rubric.
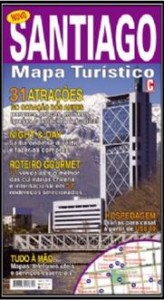
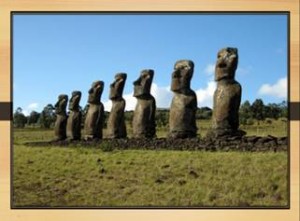
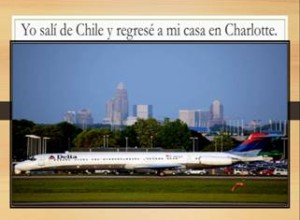 I wish I could properly express to you how happy I was with the results of this project. I won’t say I cried, but I did clap in an excessively excited fashion after each presentation and go in the hall just to make sure that no one was there who I could drag in to watch my kids present. The pictures you see in this post are a few of the slides they had to work with, and a picture of the presentation cards done by one of the kids who presented live. I was so happy with how it worked! I hope you have enough information here to give this a shot, and have success. I have included below the PowerPoint itself so you can play with it how you want to. Have fun!
